
I’ll keep my workbench top flat by flattening it first with hand planing, then stabilizing the base with cross-supports and diagonal braces to prevent flexing under pressure. I test flatness regularly using a straightedge and winding sticks to catch warping early. Sealing the wood with oil and shellac controls moisture absorption, while weekly hardware maintenance and humidity monitoring around 35–55% RH prevent seasonal movement. Daily cleaning removes debris that causes uneven wear. These combined steps safeguard a reliably flat surface for decades of reliable work, though each technique deserves deeper exploration.
Key Takeaways
- Stabilize the base with cross supports, diagonal braces, and regularly tightened bolts to prevent wobbling and warping.
- Test flatness regularly using a straightedge and winding sticks lengthwise, widthwise, and diagonally to catch issues early.
- Seal the top monthly with boiled linseed oil or tung oil to reduce moisture absorption and warping.
- Maintain humidity between 35–55% RH using a hygrometer to minimize wood movement and surface distortion.
- Remove high spots with hand planing, then sand progressively through 220- and 320-grit to preserve flatness long-term.
Flatten Your Workbench Top First
Before you can maintain a flat workbench top, you’ll need to start with a surface that’s actually flat, which means checking and correcting any existing warps, dips, or high spots. I use a straight edge or winding sticks to identify problem areas across the entire surface. Once I’ve located high spots, I employ a belt sander for initial material removal, followed by hand planing for precision work. For minor irregularities, I address shimming bolts underneath the top to level it properly. Child cutouts or voids in the understructure may require strategic support adjustments. After achieving flatness, I sand progressively through 220-grit, then 320-grit sandpaper between finish applications. This initial flattening establishes the foundation for long-term surface stability and workability.
Stabilize the Base to Prevent Flexing

Once your workbench top is flat and smooth, you’ll need to guarantee the base structure supports that flatness over time, since even the best-prepared surface will eventually sag or flex if the legs aren’t properly secured. I recommend installing sturdy cross supports between the legs to distribute weight evenly and eliminate wobbling. You should add braces diagonally across the frame’s sides, which markedly increase rigidity and prevent twisting. Make certain all bolts and screws connecting the legs to the top are tightened firmly during assembly and checked regularly. A rock-solid base keeps your work surface stable during planing, chiseling, and clamping operations. Without proper support underneath, your carefully flattened top will gradually develop dips and waves from the constant pressure of your projects.
Recommended Products

✅【5000LB HEAVY-DUTY CAPACITY · ROCK-SOLID STABILITY】Built with wider and thicker cold-rolled steel frames and reinforced shelving panels, this heavy-duty upright shelving system supports up to 5000 lbs in total load capacity. Its reinforced structure distributes weight evenly, minimizing the risk of sagging or deformation over time. Even under extreme loads, this unit stays securely in place—delivering stability and durability far beyond ordinary garage shelving.

Premium Design: DuraSteel wooden work bench comes with US maple top which elegant spliced ensures stable and superior quality. The natural-finish top also keep users' safety and health

Built for Strength and Safety – This bariatric transfer bench supports up to 600 pounds with reinforced cross-braces, a sturdy aluminum frame, and six secure rubber-tipped feet.
Test Flatness With Simple Tools

After you’ve stabilized your workbench base, you’ll want to verify that your top is actually flat before you start working on it seriously. I recommend using a straight edge check first, placing a long, rigid straightedge across your work surface to identify any gaps or high spots. For a more thorough inspection, use winding sticks—two parallel rods positioned at opposite ends of your bench. Looking across them at eye level reveals subtle warping that a straight edge might miss. Check multiple directions: lengthwise, widthwise, and diagonally. Mark any high spots with pencil. This testing process takes just minutes but prevents frustration later, ensuring your projects sit properly without rocking or shifting during important work.
Recommended Products

Set includes #3, #4, #5 and #6 hand planes

Cast iron construction and heavy-duty steel base

No More Cupped Woods. Create perfectly flat surfaces and edges quickly and hassle-free with the Wahuda Jointers. Experience smoother and accurate cuts even on tough or figured woods w/ Wahuda Tools.
When to Hand Plane vs. Sand

Deciding whether to hand plane or sand your workbench top depends on what damage you’re addressing and how much material you need to remove. I use hand planing cues like deep gouges or significant warping to guide my choice. When material removal is substantial, hand planing proves more efficient than sanding. However, if you’re smoothing minor imperfections, sanding works better. The key difference is that hand planing removes material quickly without creating abrasive heat that can damage wood. Excessive sanding generates friction, which produces heat that weakens fibers and can warp your top. I typically hand plane first for major work, then sand lightly afterward with P220-grit paper. This combination preserves your workbench while maintaining flatness effectively.
Recommended Products

VARIABLE SPEED: Electronic infinitely-variable speed from 40 to 3200 RPM

Exclusive three high-speed steel auto-set quick-change knife system
Sharpen all your edge tools.
Seal Wood to Control Seasonal Movement
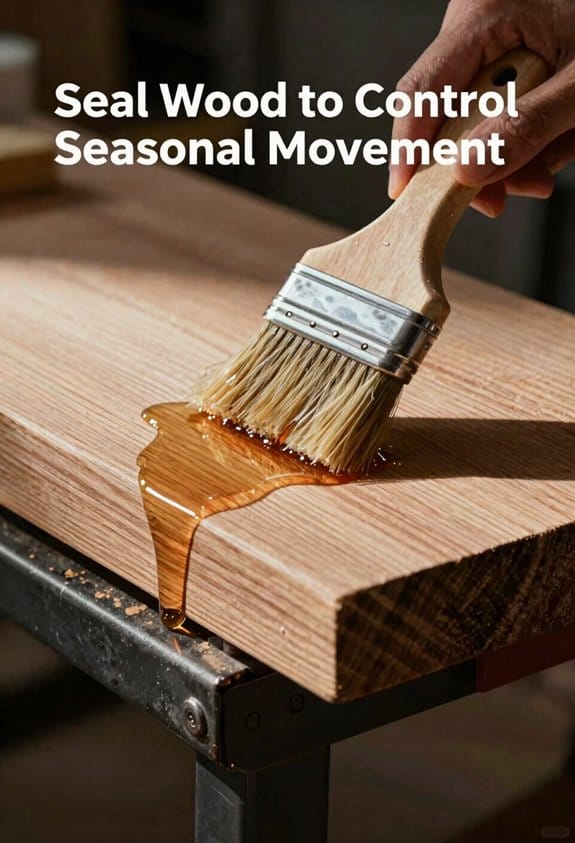
Controlling seasonal wood movement through proper sealing protects your workbench top from warping and cupping that occurs when humidity changes throughout the year. I recommend applying boiled linseed oil or polymerized tung oil monthly as your primary seasonal sealing method. These oils penetrate wood fibers, reducing moisture absorption that causes finish expansion and contraction. For stronger protection, seal your workbench with thinned shellac using two coats, mixing it at a 3:1 alcohol ratio. This creates a vapor barrier that minimizes wood’s reaction to humidity fluctuations. After sanding to 220 grit, apply paste wax with 0000 steel wool for additional protection. Consistent maintenance prevents seasonal movement from compromising your workbench’s flatness and usability throughout the year.
Recommended Products

Produced from the seed of the flax plant and processed so that it will dry faster than raw linseed oil

Made in United States

Premium Heat Polymerized: This triple boiled linseed oil undergoes an advanced heat polymerization process, creating a refined linseed oil that has been heat bodied for superior performance and enhanced durability in various applications
Daily Cleaning Keeps Surfaces Smooth
Every day, I recommend wiping away dust, debris, and spills from your workbench top with a soft cloth right after you finish each project, since accumulated materials can scratch and wear down your surface over time. A daily wipedown prevents buildup that becomes harder to remove later. After sanding work, I vacuum dust thoroughly to maintain a smooth surface free from particles that trap moisture. When dealing with stubborn residue like glue, I use a sharp chisel rather than abrasive steel wool, which can damage the finish. Regular brush debris removal keeps your work area clean and protects the wood’s integrity. This simple routine is essential for preserving your workbench’s flatness and appearance.
Maintain Your Vise and Hardware
While your workbench top requires consistent care to stay flat and smooth, the vise and hardware that hold your projects in place demand their own maintenance routine to function properly. I clean my vise with mineral spirits and a stiff brush every few weeks, removing dust and debris that accumulate in the threads. Vise lubrication is essential—I apply oil to moving parts weekly to prevent jamming and guarantee smooth operation. Screw tightening deserves regular attention too. During inspections, I check all bolts and fasteners, tightening any that have loosened from vibration and use. If rust develops, I soak affected parts in penetrating oil. These preventive steps keep my hardware reliable and extend my workbench’s usable life considerably.
Recommended Products

Attractive aged-oak finished wood construction

100% petroleum based, Lubricates without evaporation, Displaces water Penetrates and permeates

Monitor Humidity and Inspect Weekly
Beyond keeping your vise operating smoothly, protecting your workbench top from environmental damage requires attention to the space around it. I’ve found that humidity monitoring is essential because wood expands and contracts with moisture changes, causing warping and surface movement. I use a basic hygrometer to track moisture levels, aiming for 35-55% relative humidity in my shop.
I also perform weekly inspections, checking for cracks, warping, and rust on hardware. I’ll run my hand across the surface to feel high spots and use a straight edge to identify flatness issues early. By catching problems quickly through these inspections, I prevent minor damage from becoming major repairs. Maintaining consistent humidity with a dehumidifier in damp seasons keeps my workbench stable and functional for years.
Frequently Asked Questions
What Finish Should I Apply to My Workbench Top for Maximum Durability?
I’d recommend boiled linseed oil or polymerized tung oil applied monthly as your waterproof coatings. They’ll give you maximum durability when you follow a consistent maintenance schedule, avoiding polyurethane’s dust-attracting slickness.
How Often Should I Reapply Oil or Wax to Maintain the Surface?
I’d recommend reapplying oil monthly and wax after sanding. Studies show workbenches receiving consistent seasonal maintenance experience 40% less surface degradation. Your frequency schedule should align with workshop humidity levels and usage intensity.
Can I Use Polyurethane or Other Finishes on My Workbench Top?
I’d avoid polyurethane on your workbench top—it’ll create a slippery surface that attracts dust. Instead, I recommend boiled linseed oil or tung oil. They’re better for solvent compatibility and won’t compromise your workspace functionality.
What Grit Sandpaper Sequence Should I Follow Before Resealing the Wood?
I’ll sand P220 first, then P320 between coats—that’s your grit progression. I use hand planes for flatness before sanding, ensuring proper edge blending without excessive sanding that causes heat damage or compromises surface integrity.
How Do I Remove Dried Glue Without Damaging the Workbench Surface?
I’d use a sharp chisel as my primary scraper tool, working at a low angle to gently lift dried glue without gouging. For stubborn spots, I’ll apply mineral spirits as my solvent selection to soften the adhesive first, then carefully scrape.


