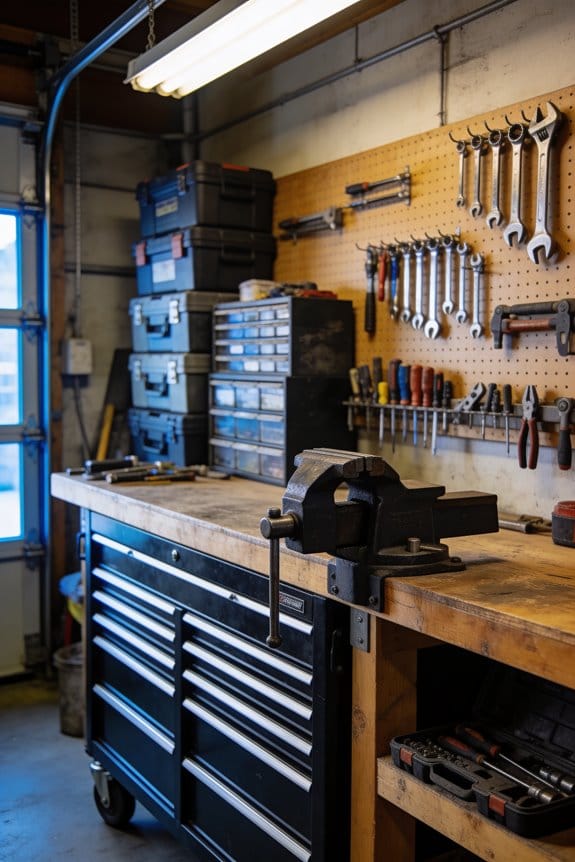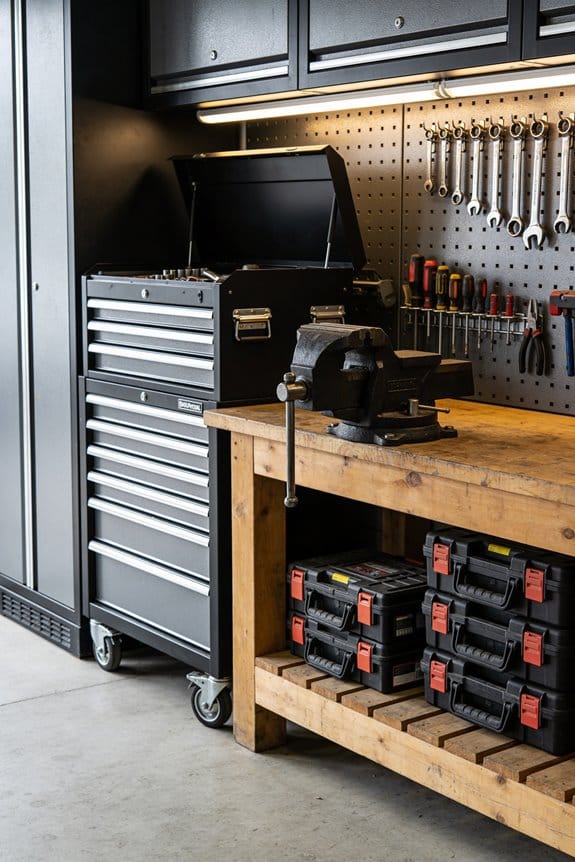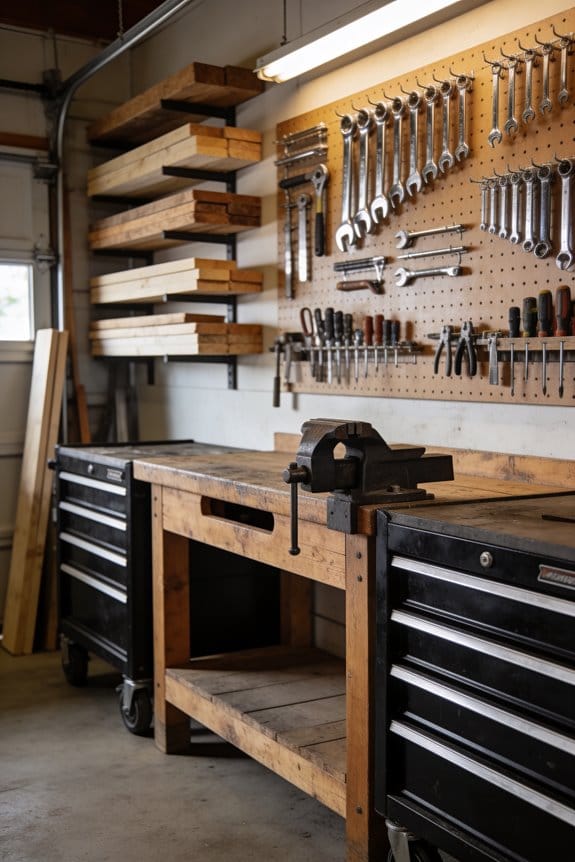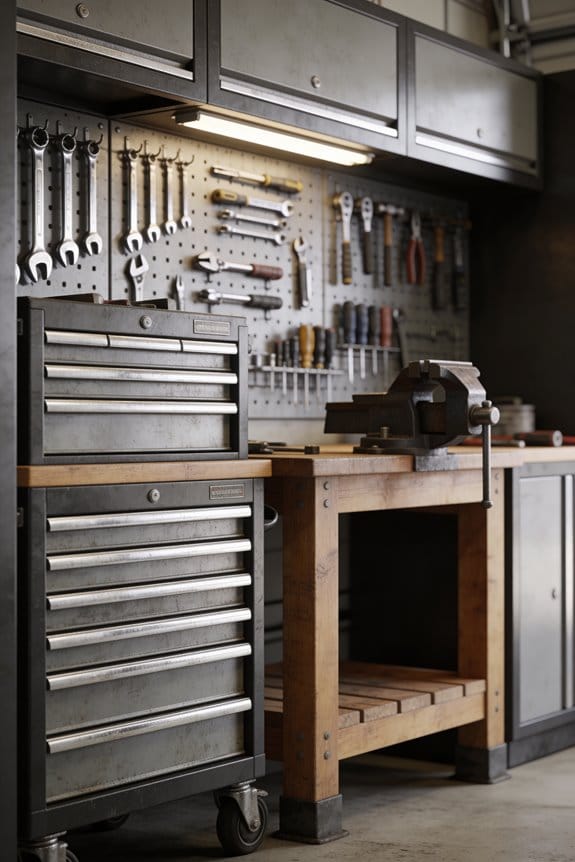

You’ll want at least three feet of clearance between your workbench and the wall. This space lets you stand comfortably, move your arms freely, and rotate projects without feeling cramped. If you’re using tools like miter saws or doing assembly work, you’ll need room to pull the bench away from the wall entirely. Pushing your bench flush against a wall is the biggest mistake most woodworkers make because it severely limits what you can actually build and accomplish.
Key Takeaways
- Maintain at least 3 feet of clearance around your workbench for comfortable arm movement and workflow flexibility.
- Wall-mounted benches save floor space but require support brackets anchored into studs every 3 feet maximum.
- Pull freestanding benches away from walls to accommodate tools like miter saws needing 24 inches of depth.
- Adequate spacing prevents traffic bottlenecks and allows rotating projects for perpendicular work and component assembly layout.
- Overhead storage cabinets should be 16-20 inches deep, positioned past bench edges to avoid obstruction during work.
Workbench Size First: Why Depth and Length Drive Everything Else
The foundation of any functional workshop starts with choosing your workbench dimensions, because once you’ve decided on depth and length, you’re effectively locking in how much space you’ll need around it and what kind of work you can realistically accomplish. A 48-inch by 24-inch bench works well for light tasks, while 6 feet length accommodates larger projects. Your material choice—whether solid wood or metal—affects weight distribution and structural requirements. Ergonomics layout demands minimum 36 inches height, ensuring comfortable arm positioning during work. The 24-inch depth proves ideal for DIY woodworking, providing adequate workspace without consuming excessive floor area. These foundational decisions directly determine clearance requirements and accessibility around your workbench.
Wall-Mounted vs. Freestanding: Which Works for Your Shop
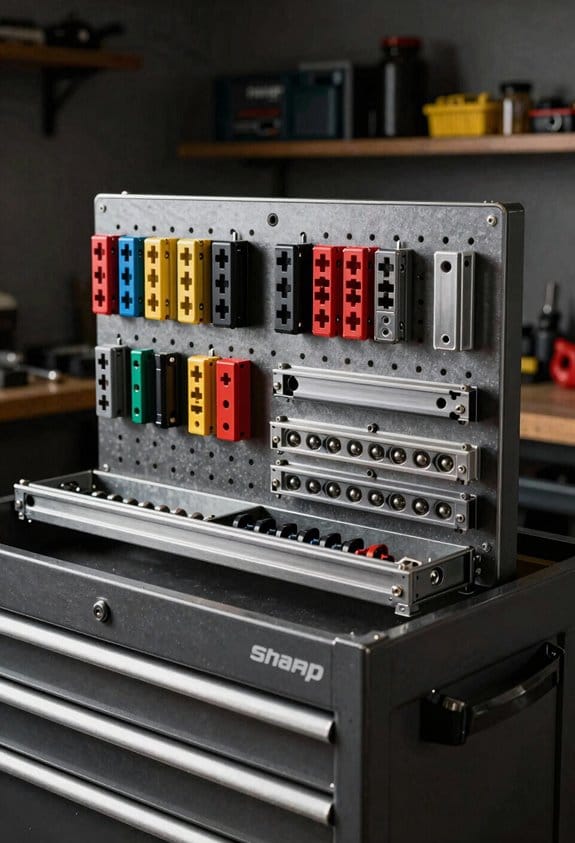
Once you’ve settled on your workbench dimensions, you’ll face another critical decision: whether to mount your bench on the wall or keep it freestanding in your shop.
Wall-mounted benches save valuable floor space, especially in smaller workshops. Fold down brackets and stud mounted hinges allow your work surface to flip up when not in use, then lower flat for projects. You’ll need support underneath every three feet maximum span to handle weight safely.
Freestanding benches offer flexibility. You can pull them away from walls for perpendicular work, accessing all four sides easily. This arrangement works better if you need three feet of clearance around your bench, which prevents that cramped feeling.
Consider your shop size and typical projects when deciding between these options.
The 3-Foot Rule: Why Clearance Around Your Bench Matters
Whether you’re building your first workbench or redesigning an existing shop layout, you’ll quickly discover that three feet of clearance around your bench isn’t just a suggestion—it’s a practical necessity. This space directly impacts your ergonomics positioning, allowing you to stand comfortably while working and move freely without strain. Less than three feet creates a cramped feeling similar to working in a boat galley, restricting your movement and reducing efficiency. The clearance also supports proper traffic flow through your shop, preventing bottlenecks when multiple people work nearby. With adequate space on all sides, you can rotate projects, access tools easily, and pull your bench away from walls when you need perpendicular work surfaces. Investing in this clearance pays dividends through improved comfort and productivity.
Overhead Storage for Workbenches: Rules and Installation
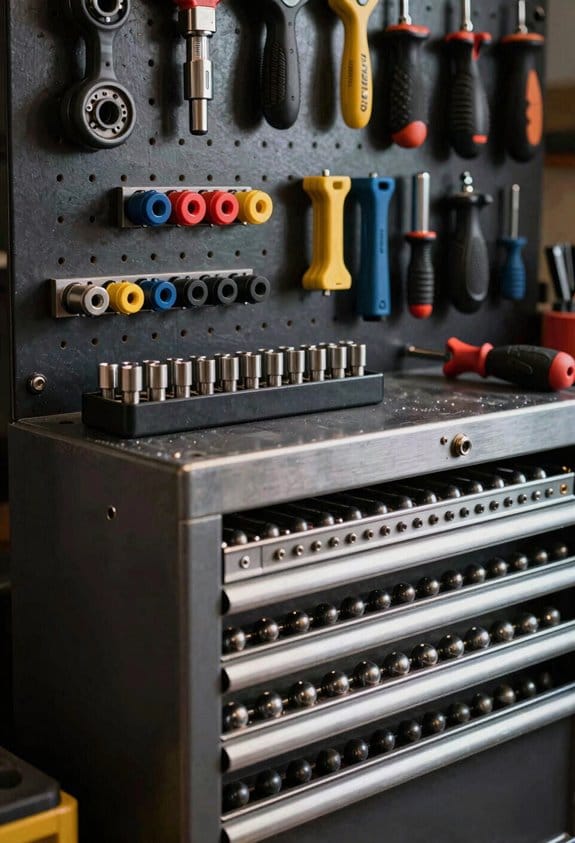
Now that you’ve secured adequate floor space around your workbench, you’ll want to maximize your shop’s vertical real estate without compromising the comfort you’ve gained. Install overhead cabinets 16 to 20 inches deep, positioned past your bench edge to avoid obstruction. Space support brackets every three feet maximum, anchoring them securely into wall studs using lag screws. Consider cabinet ventilation when storing finishing products or chemicals, ensuring proper airflow to maintain safety. Integrate lighting integration beneath cabinets to illuminate your work surface effectively. A 2-foot-high pegboard between your bench and overhead storage provides accessible tool organization. This layered approach—combining shallow cabinets, strategic bracket placement, and lighting solutions—creates efficient storage while preserving the open workspace you need for comfortable, productive projects.
Space Your Workbench for Real Projects: Miter Saws and Assembly
While you’ve created generous floor space around your workbench, you’ll need to account for the actual tools and projects that demand movement and clearance. A sliding compound miter saw requires at least 24 inches of unobstructed depth to operate safely and effectively. Your miter setup needs room to extend fully when crosscutting lumber, so pulling your bench away from the wall becomes essential for this task.
Similarly, your assembly workflow demands space for laying out components and maneuvering pieces during construction. Perpendicular board planing requires 2–3 feet of clearance beyond your workbench edge. These real-world demands mean that three feet minimum around your workspace isn’t just a recommendation—it’s a practical necessity. Plan your layout with these specific tools and techniques in mind before installation.
Frequently Asked Questions
Can I Place My Workbench Directly Against a Wall Permanently?
I’d recommend against permanently placing your workbench directly against a wall. You’ll lose tool mounting opportunities on one side and compromise ventilation clearance. I suggest pulling it out periodically for perpendicular work and better access.
What’s the Best Way to Organize Tools Above a Wall-Mounted Bench?
I’ve found that organizing tools above a wall-mounted bench is like arranging a kitchen—everything needs its place. I recommend pegboard organization for frequently used items and overhead shelving for storage boxes, keeping your work surface clear.
How Do I Prevent My Workbench From Feeling Cramped in Small Spaces?
I’d maximize vertical storage with pegboard and wall-mounted cabinets to keep your surface clear. Add task lighting overhead so you’re not working in shadows, which makes tight spaces feel even more confined.
Should I Leave Open Space Underneath My Workbench for Storage?
I’d recommend leaving open space underneath your workbench. It improves airflow clearance around power tools, simplifies cable management for your equipment, and gives you easy access when you need to adjust or troubleshoot anything.
How Often Should I Move My Workbench Away From the Wall?
I’d recommend moving your bench away from the wall monthly for routine maintenance and cleaning underneath. Seasonal repositioning—maybe spring and fall—helps you assess layout efficiency and access hard-to-reach areas properly.