To line your tool chest drawers properly, I’d first choose durable rubber or Zerust liners that resist oil and moisture. You’ll want to measure your drawer’s interior accurately, accounting for edges and allowing 1 mm extra space for thermal expansion. Mark and cut your liner precisely using a straightedge, then apply thin white glue evenly across the drawer bottom. Position the liner carefully and weight it down until the adhesive sets completely. Finally, maintain your liner by wiping it regularly and inspecting it every few months to make sure it stays effective and protective. The specifics of each step reveal why proper technique matters noticeably.
Key Takeaways
- Choose a durable liner material like rubber or Zerust that resists oil, grease, and moisture for long-lasting protection.
- Measure drawer interiors accurately with a ruler and tape measure, accounting for edges and cutting 1 mm smaller for fit.
- Mark and cut liner material precisely using a straightedge guide, considering ribbing direction to avoid difficult angles.
- Apply thin white glue evenly across the drawer bottom and weight the liner until adhesive sets completely.
- Maintain non-slip protection by regularly cleaning the liner with a dry cloth and mild soap solution when needed.
Choose the Right Toolbox Liner Material
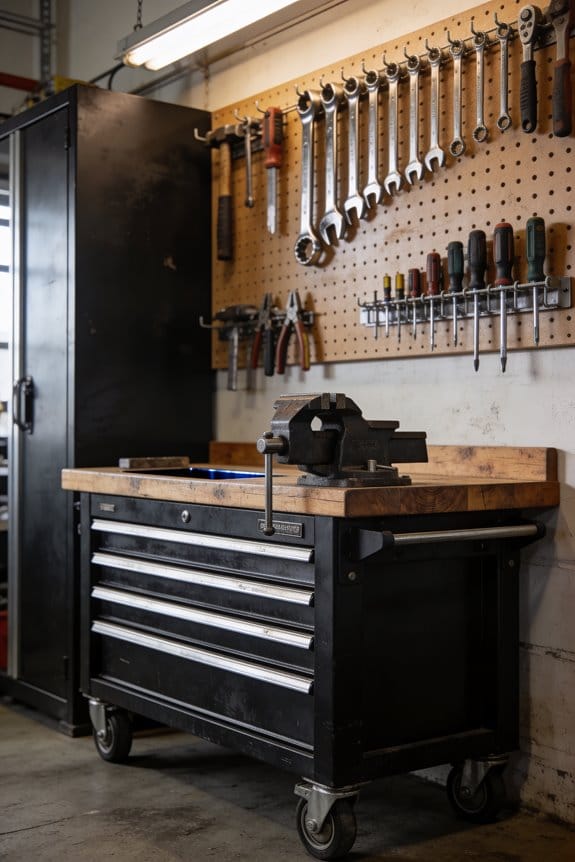
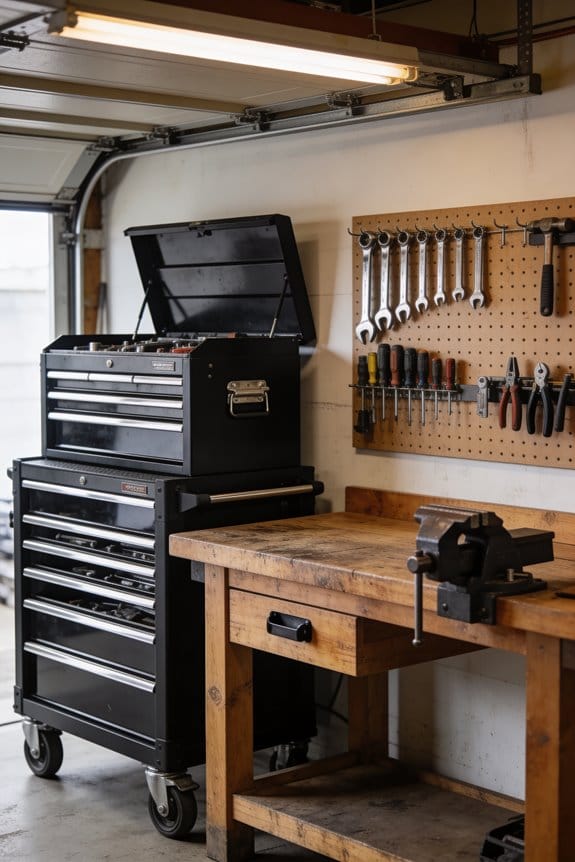
When you’re lining your toolbox drawers, selecting the right material makes a significant difference in how well your tools stay protected and organized. I’d recommend considering rubber durability, which provides excellent protection and longevity for your investment. Rubber liners resist oil, grease, and moisture, making them ideal for tool storage environments.
You’ll also find aesthetic options that suit your preferences. Soft PVCs, suedes, and microfiber materials offer both functionality and appearance. Zerust liners work particularly well because you can cut them to fit any drawer configuration. For budget-conscious choices, the US General Drawer Liner from Harbor Foot offers affordability without sacrificing quality.
Consider your specific needs—whether you prioritize durability, appearance, or cost-effectiveness—when making your selection.
Measure Your Drawers Accurately to Avoid Costly Mistakes

Because toolbox drawers vary widely in design and construction, accurate measurements form the foundation of a successful lining project, and I can’t stress this enough—rushing through this step leads to wasted materials and poor-fitting liners. When I measure my drawers, I account for rolled edges on top and folded edges on bottom, which affect the final fit. I use accurate edge mapping to identify these features before cutting. I always cut my liner 1mm or 1/32 inch smaller than my measurements to allow for thermal expansion and contraction caused by temperature changes. I also consider whether my drawers are perfectly square. Using a ruler, tape measure, and straightedge, I measure the interior precisely to guarantee custom-fit liners that work properly.
Cut Your Liner Precisely

After you’ve measured your drawers accurately, the next critical step involves cutting your liner material with care and precision. I recommend marking your material after measuring, then using a straightedge to guide straight cuts. Consider the ribbing direction when cutting to avoid difficult angles. If you’re cutting directly on ribs, make a thin cut on the opposite side first. Cut your mat slightly undersized—about 1mm smaller than your measurements. This allows for thermal expansion when temperatures change and accommodates drawers that aren’t perfectly square. When edge trimming fabric-backed liners, subtract twice the fabric thickness from your backer dimensions. Zerust liners cut easily to fit any enclosed space. Taking time with precise cuts guarantees your liner fits properly and protects your tools effectively.
Install Your Liner and Prevent Shifting

Now that you’ve cut your liner to the proper dimensions, it’s time to set it into your drawer and secure it against movement. I recommend using thin white glue as your adhesive option, which prevents the liner from creeping during use. Apply a light, even coat across the drawer bottom before carefully positioning your liner. Consider temperature effects, since materials expand and contract with heat changes, so avoid using excessive adhesive that might cause buckling. Once placed, weight the liner with heavy items for several hours until it fully sets. This approach keeps your liner stationary while remaining removable if you need to clean underneath. Your tools will stay protected and organized without shifting around.
Maintain Your Liner’s Non-Slip Protection

Your drawer liner’s non-slip properties work best when you keep the surface clean and free from buildup, so I recommend checking your drawers every few months to make certain the liner remains effective. Dust, metal shavings, and oil accumulation reduce grip and allow tools to slide during transport or use.
Establish simple cleaning routines by wiping your liner with a dry cloth regularly. For seasonal storage, remove drawers and inspect the liner thoroughly before storing your toolbox. If you notice dirt or residue, use a mild soap solution and soft brush to clean the surface gently. Allow the liner to dry completely before returning tools to the drawer.
This maintenance approach preserves your liner’s protective qualities and extends its lifespan markedly.
Frequently Asked Questions
What Tools Do I Need to Cut Drawer Liners Accurately and Safely?
You’ll need a razor knife or X-Acto knife for precise cutting and measuring tools like a ruler, square, and tape measure. A straightedge guarantees clean, safe cuts while you’re working on your liner material.
How Should I Prepare My Drawers Before Installing New Liners?
Before I install new liners, I’ll thoroughly clean all surfaces to remove dust and debris. This cleaning guarantees proper adhesion and improves drawer organization. I’ll also flatten any rolled mats with heavy items beforehand.
Why Do Mats From Rolls Stay Curved, and How Do I Fix It?
Rolled mats retain their curved shape due to memory foam properties and static cling from storage. I’d flatten them by placing heavy items on top until they’re completely straightened out.
Can I Remove and Wash Liners if They Get Dirty or Damaged?
Your drawer liners are your toolbox’s safety net. Yes, I can tell you that removable liners are machine washable if they’re dirty or damaged. You’ll simply lift them out, clean them, and reinstall them—keeping your investment protected.
How Much Smaller Should I Cut Liners Than My Drawer Measurements?
I’d cut your liners 1mm or 1/32 inch smaller than your measurements. This leaves margin for temperature changes and accounts for out-of-square drawers. You’ll want to shrink measurement by twice the fabric thickness if you’re using fabric backing.