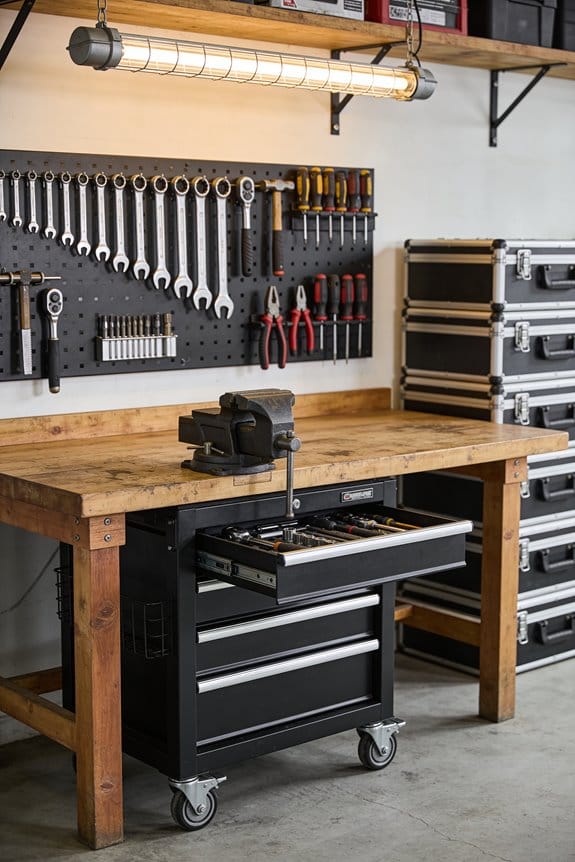
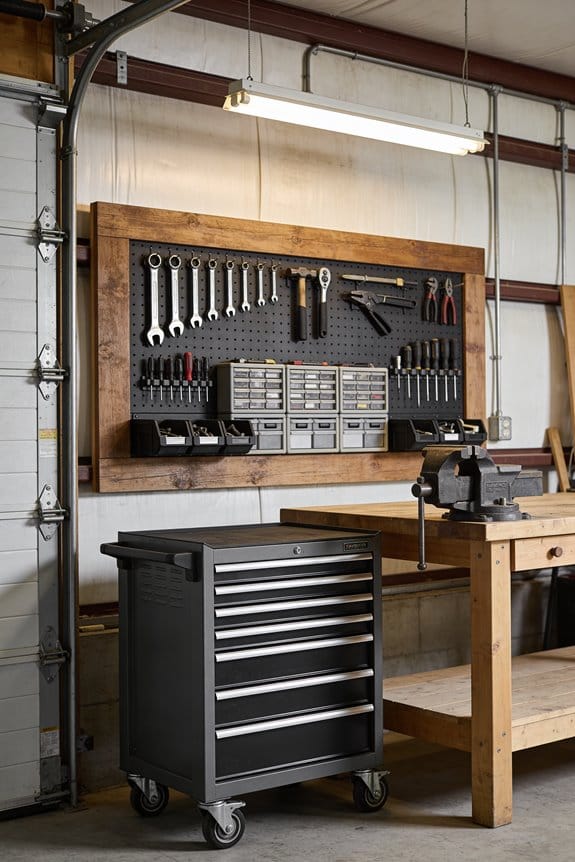
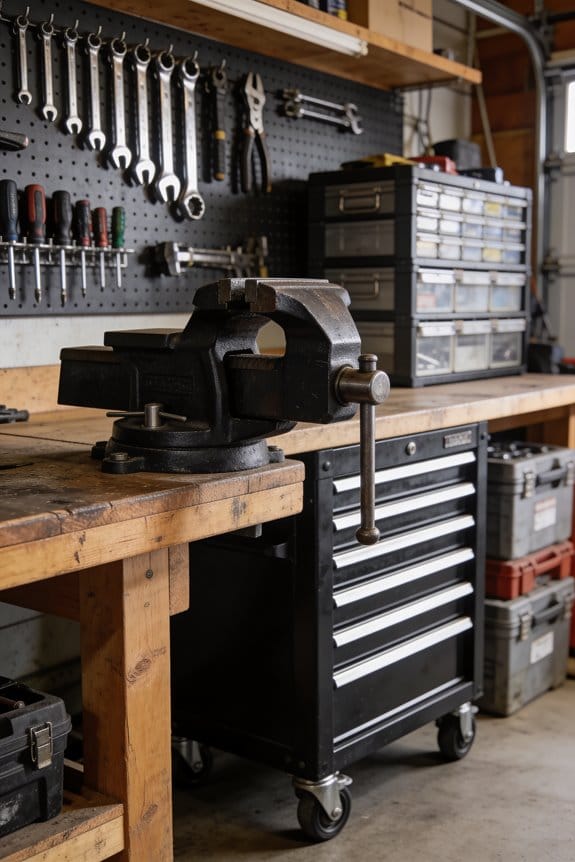
I’ll start with a QR code tracking system by selecting durable label material—polyester tags work best for rough shop environments. Next, I’ll generate custom QR codes using free platforms like CHEQROOM, then print them on adhesive sheets. Using a two-person team, I’ll apply labels to tools while my partner immediately scans each one to verify the correct asset links in the app. Once labeled, I’ll update tool status by scanning both the tool’s QR code and location codes during daily operations, creating real-time inventory records that keep my entire team accountable and prevent tools from disappearing into forgotten corners.
Key Takeaways
- Apply polyester QR code labels to tools and use smartphone scanning to track check-ins and check-outs for accountability.
- Generate custom QR codes using free platforms like CHEQROOM, then print on adhesive labels matching your shop conditions.
- Use paired verification during labeling: one person applies labels while a partner scans to confirm correct asset linking.
- Update tool locations in real-time by scanning individual tool QR codes and location QR codes through mobile tracking apps.
- Conduct periodic mini-audits by scanning area codes then individual tools to reconcile physical inventory with system records regularly.
Stop Tools From Getting Lost in Shared Shops
When you’re working in a shared shop where multiple people use the same tools, it’s easy to see how equipment gets misplaced or forgotten. Preventative tagging offers a practical solution to this common problem. By applying QR code labels to your tools before issues arise, you create an immediate tracking system that identifies each item’s location and status. Implement locker checklists using QR codes on storage areas, allowing team members to scan and verify what’s stored where. This approach reduces time spent searching for misplaced equipment and helps prevent tools from disappearing into forgotten corners. When everyone scans tools in and out using their smartphones, accountability increases naturally. The system works best when your entire team participates consistently, making tool tracking a routine part of shop operations.
Choose the Right QR Tag Material for Your Shop
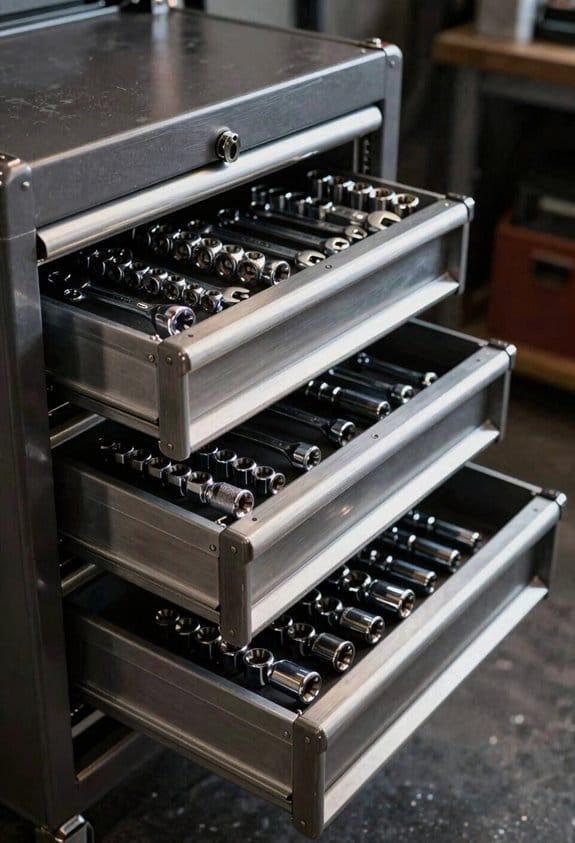
Selecting the right QR tag material makes the difference between a tracking system that lasts for years and one that fails after a few months in your shop. For construction tools exposed to moisture and rough handling, polyester tags with sticky backs offer superior durability comparison against standard adhesive labels. These tags withstand temperature changes and physical wear that indoor workshop environments rarely demand. When considering adhesive compatibility, you’ll want polyester tags for metal tools and adhesive label sheets like Avery L7163 for office equipment. Metal photo tags represent a middle option if you need something more robust than basic labels but less specialized than full polyester. Assess your shop’s conditions—humidity, temperature fluctuations, and tool handling intensity—before choosing. Testing your selected material on a few tools first guarantees you’re making the right investment.
Generate and Print Custom QR Labels in 4 Steps
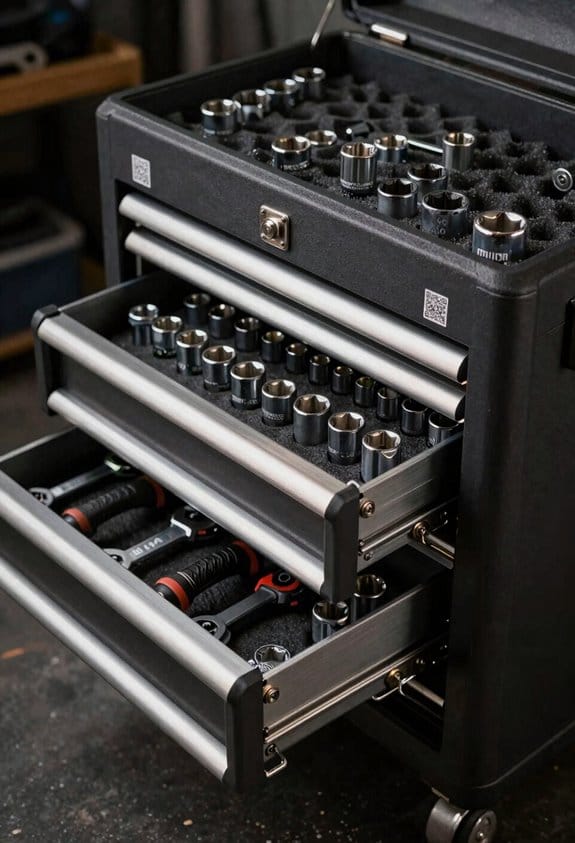
Once you’ve decided on your tag material, the next step is creating the actual QR codes that’ll transform your tool tracking system from idea to reality. I recommend using free platforms like Ubiqod or CHEQROOM to generate your codes. First, choose your QR type—URL works best for linking to tool details. Next, add your content, then customize with design templates that match your shop’s branding by incorporating logos and colors. After customization, select your label size and download the PDF file. Finally, print on a laser printer using adhesive label sheets or order pre-printed tags. Test-scan several codes to verify they link correctly before applying them to your tools.
Label Tools With the Two-Person Verification Method
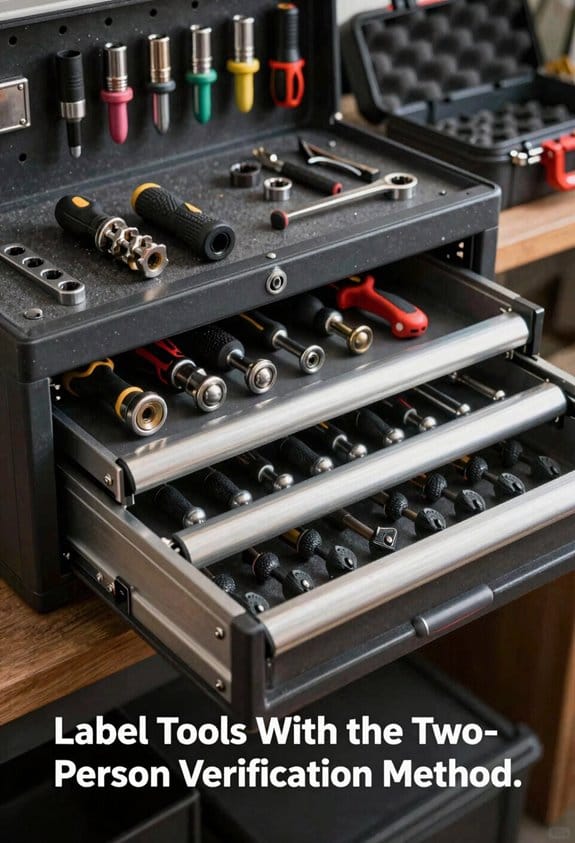
Before you start attaching QR labels to your tools, organize your workspace and gather your team, because accuracy matters more than speed in this process. I recommend using paired verification, where one person applies the adhesive tag while their partner scans it immediately after placement. This dual confirmation method catches mistakes before they become tracking problems in your system.
Work methodically through your tools, labeling 80-120 assets per hour with your two-person team. Clean each surface first, then apply the label firmly, ensuring good contact. Scan the QR code right away to verify the correct asset link appears on your app. If something doesn’t match, peel and replace the label immediately rather than fixing errors later. This approach keeps your inventory accurate from the beginning.
Update Tool Status by Scanning On the Floor
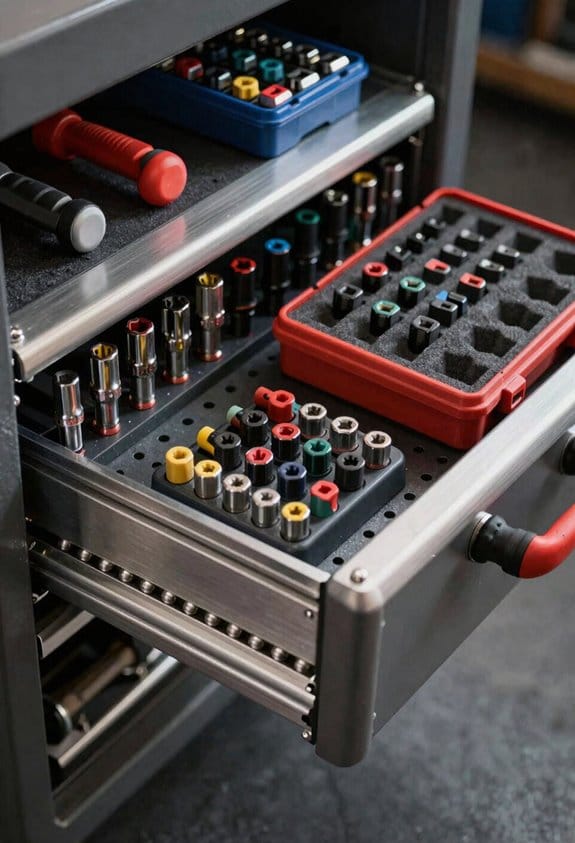
Now that your tools are labeled and verified, you can track their location and status directly from the shop floor without needing to return to a workstation or computer. When you need to update a tool’s status, simply scan its QR code using your mobile app like ToteScan or CHEQROOM. Next, scan the location QR code where that tool currently sits. This two-step process enables real-time updates of your inventory system instantly. Many apps support offline logging, allowing you to document tool movements even without internet connection. Once you’re back online, the app automatically syncs your records. This approach eliminates manual entry errors and keeps your inventory accurate throughout the day, helping your shared shop maintain better organization and accountability.
Fix Scanning and Labeling Hiccups
Even with a solid scanning system in place, you’ll occasionally run into problems that can disrupt your workflow. Label alignment issues happen when tags aren’t positioned flat against tool surfaces, causing cameras to struggle reading the code. To fix this, make sure labels sit flush and straight before pressing them down. Scan latency, which is the delay between scanning and data appearing on your screen, can result from weak internet connections or app glitches. Restart your scanning app or move closer to your Wi-Fi router to improve speed. Test problematic labels immediately after application by scanning them twice. If a label fails both scans, peel it off and reapply. Catching these issues early prevents bigger tracking headaches later.
Audit Your Inventory With QR Scans
Once you’ve applied QR code labels to your tools and equipment, you can periodically run mini-audits to verify that your inventory matches your records. I recommend scanning different areas of your shop to compare what’s actually there against what your system shows. This location reconciliation process helps you catch discrepancies quickly, whether tools are missing, misplaced, or incorrectly logged. You’ll scan the area’s QR code first, then scan individual tool tags to verify they’re in the right spot. When periodic audits reveal mismatches, you can investigate immediately—perhaps a tool was borrowed but not checked out properly. This systematic approach takes just minutes but prevents larger inventory problems from developing. Regular scanning keeps your shared shop organized and your records accurate.
Share Tool Inventory Data With Team Members
How can your team members access tool information without logging into your tracking system? Third parties can scan QR codes directly, viewing essential data instantly without requiring system access. This streamlined team access eliminates barriers for workers who need quick information about tool status, location, or availability.
Data sync occurs automatically when team members scan tools using mobile apps like ToteScan or CHEQROOM. Everyone’s updates flow into the shared inventory simultaneously, ensuring no one works with outdated information. Your team can check equipment details on-the-go, updating tool locations and status from anywhere in the shop.
This approach reduces confusion and coordination time. Workers spend less energy searching for current information and more time completing actual tasks, making your shared shop more efficient and organized.
Expand Your QR Tracking to New Locations
As your tool inventory grows beyond a single workshop, extending your QR tracking system to multiple locations becomes essential for maintaining organized inventory across different sites. You can set up location-specific QR codes for remote locations, allowing teams to scan and update tool status instantly without returning to a central office. Portable kiosks equipped with scanners enable quick check-ins at job sites or satellite workshops. Each location receives its own dedicated QR tags that link to your main database, so you’ll access real-time information regardless of where tools are stored. This expansion prevents loss, reduces duplication across sites, and guarantees accountability among multiple teams sharing equipment across various facilities.
Frequently Asked Questions
Can QR Codes Be Scanned Without Internet Connection in the Shop?
I’ve found that offline scanning works with apps storing data locally on your device. You’ll scan the QR code, and it’ll pull info from your phone’s local storage rather than requiring internet connectivity in the shop.
What Happens if a QR Label Gets Damaged or Becomes Unreadable?
I’d replace the damaged label with fresh replacement stickers. You’ll want durable laminates for construction tools since they’re more resistant to wear, moisture, and scratches than standard adhesive labels.
How Long Do QR Code Labels Typically Last Before Fading?
I’d say polyester tags last years, adhesive labels fade faster—typically 1-2 years depending on material durability and environmental exposure. Metal photo tags? They’re practically permanent. Your choice depends on shop conditions.
Can Third Parties Access Sensitive Tool Information by Scanning QR Codes?
I’d say third parties can only see what you’ve programmed into your QR code. If you’re using access controls through CHEQROOM or similar platforms, they won’t access sensitive metadata without proper system permissions.
What’s the Cost Difference Between Printing Labels In-House Versus Ordering Professionally?
You’d think professional printing’s cheaper, but I’ll show you it’s not. In-house printing costs under $30 per 100 labels—just material costs. Professional services add labor overhead that quickly exceeds self-printing savings.